Learn how to edit the emails that are sent to your clients regarding new activity in the Client Portal.
Table of Contents
Getting Started
The emails you can customise include:
- the invitation to access the Client Portal for the first time; and
- the email notifying a client that they have a new message in the Client Portal.
Accessing Client Portal Email Settings
To customise Client Portal emails, access the Client Portal Email Template Settings.
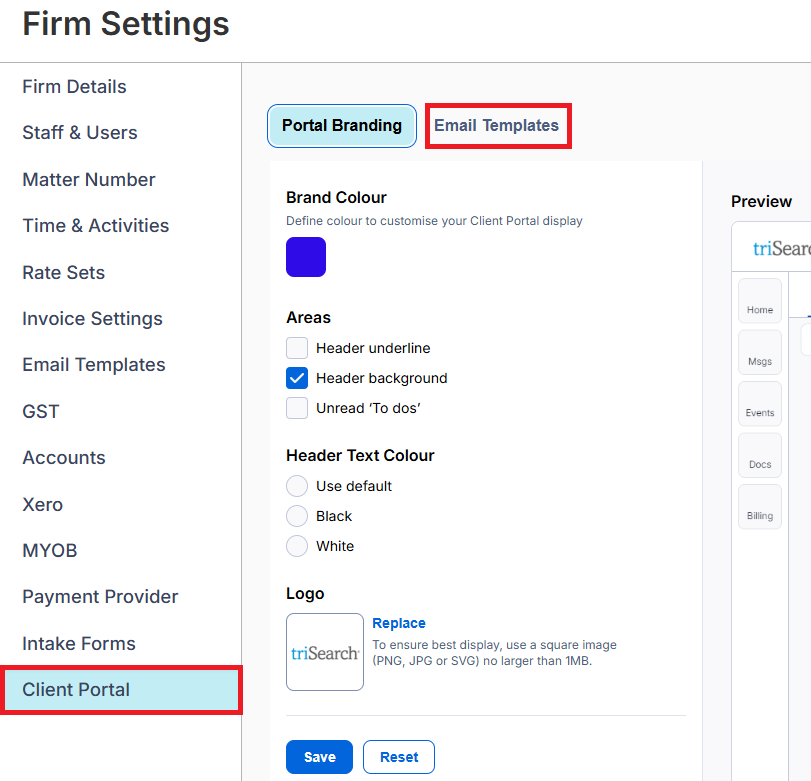
2. Select Client Portal.
3. Select Update next to Email Templates.

2. Select Firm Settings.
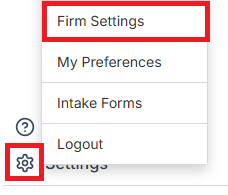
3. Select the Email Templates tab.
Editing the emails
On the Email Templates screen, choose the type of email you wish to make changes to.
| The Introduction tab is where you edit the initial email that is sent to a client when they haven't accessed the Client Portal before (i.e. the Welcome to Client Portal email). |
| The New Message tab is where you edit the emails that are sent to a client whenever something is shared to them via the Client Portal. Note that they only receive this email if they are not in the Client Portal itself when you send the message or file. |
To edit the email template:
1. Overwrite the contents in the Subject and Body text editors.
2. Select the Black 'A' icon to add automation fields to the text cursor position.
Important Note
All email templates require the {Login} automated field to be present in the Body of the email. If you've accidentally removed it, you can re-add it by clicking on the Black 'A' icon and selecting Login.
All edits you make in the text editors can be previewed in real-time on the right-hand Preview panel.
Once you are happy with the email template, select Save.
Was this article helpful?
That’s Great!
Thank you for your feedback
Sorry! We couldn't be helpful
Thank you for your feedback
Feedback sent
We appreciate your effort and will try to fix the article